 I have always been a fan of contouring, and today I’m sharing with all of you a step-by-step tutorial on how to do it properly. I have used many products from a powder to a cream, however I always find that the cream looks more natural. It’s by far more difficult and scary, but that’s why I’m here. By following these easy steps and by using SMASHBOX Step-By-Step Contour Stick Trio, you are on your way to becoming a master at contouring!

Step 1: Apply contour

Step 2: Blend

Step 3: Blend more.
Like I said you will blend and blend and blend. I tend to spend a lot of time blending on the forehead since it’s so big and I also have the most product there.

Step 4: More blending
Are you sick of me saying blend? Well my friends, keep on blending!
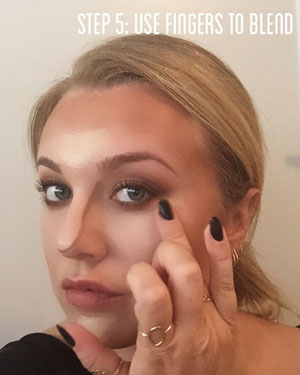
Step 5: Use fingers to blend
Once I’m done blending the dark contour, I move on to the highlight. I use my ring finger to blend underneath my eyes, since that area is delicate and I don’t want to tug or pull with the brush. Don’t need those wrinkles, thank you very much!

Step 6: Blend chin area
I then move on to the chin and forehead area, continuing to blend with the fingers. I find that this method warms the product and blends it much easier.
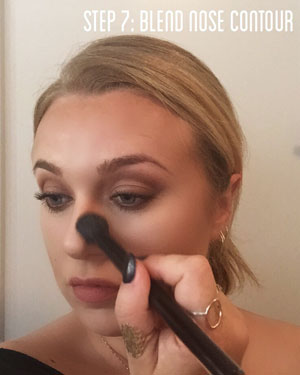
Step 7: Blend nose contour
Moving on, with the brush again, I blend the nose contour. Be careful here that you follow the line downwards/towards your cheeks but not blending it pass your nose area. You want lightness in the middle of the nose and darkness on the sides to make the nose appear smaller.
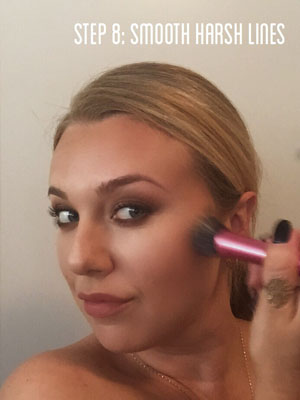
Step 8: Smooth harsh lines

Step 9: Apply blush
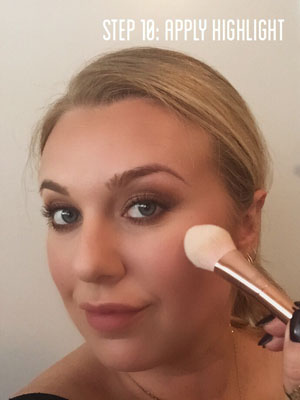
Step 10: Apply highlight

You are done !! Can you believe it ?!
I told you it’s not that complicated. It does however take time and practice, which is why I don’t do this every day. Only when I have time or on nights out. I find it’s perfect for taking pictures because it adds so much more drama to your face.
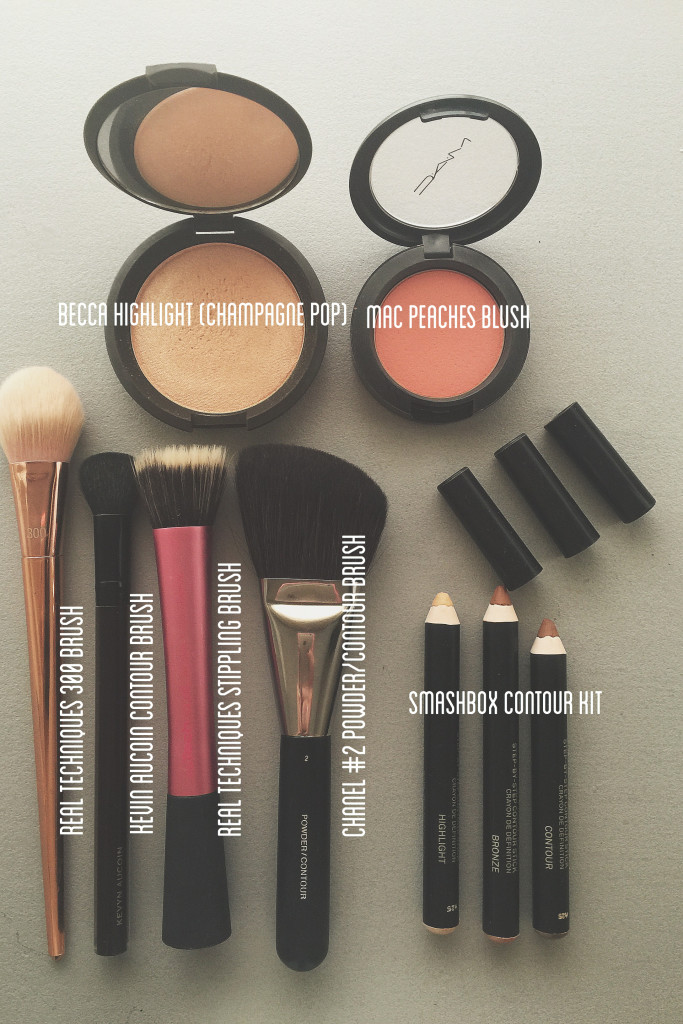
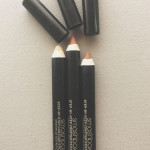
Little bit about the product:
You want a shade that has more neutral tone, so it creates a shadow. In this set, you will also get step-by-step instructions on how to contour according to your face shape, as well as a sharpener. All in all this product gets thumbs up from me!
Good luck!
Are you going to give it a try? If you do, take picture and tag me in it on Instagram @cocobelles.ca